As a side note, it's always a good idea to plug in the motherboard to the power supply before getting started and turning it on to ensure the motherboard isn't dead on arrival. You should hear a beep if its working correctly... moving on...
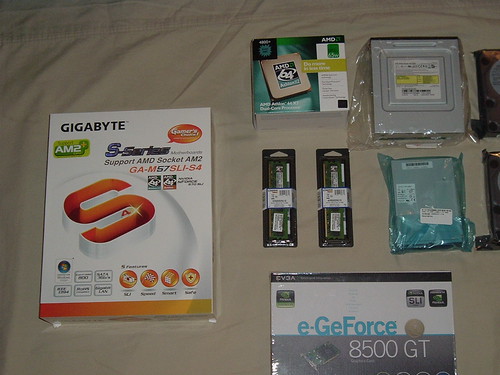
Below is a picture of all the hardware that went into the box. The list of this hardware is on the previous page.

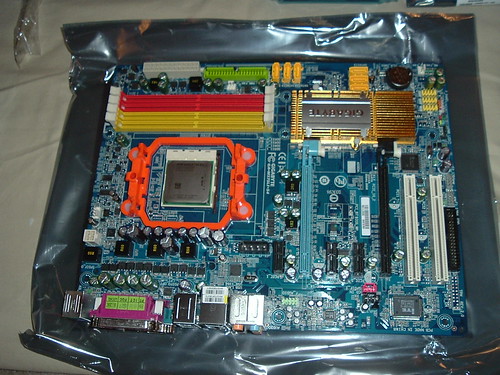
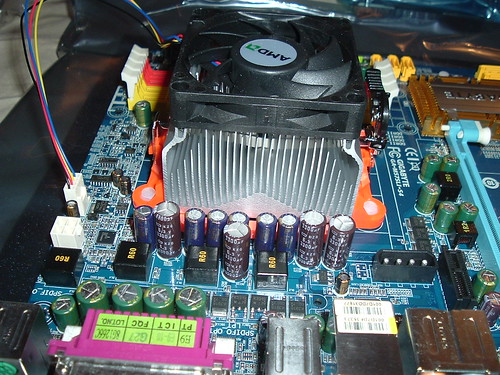
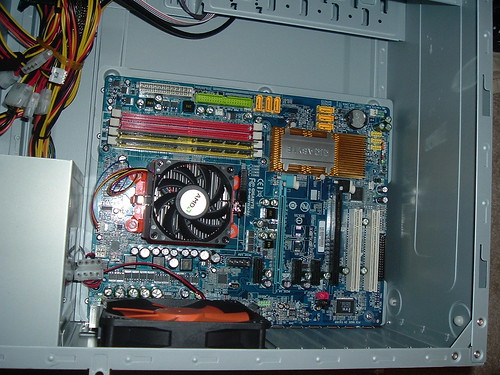
The first step was installing the processor on the motherboard. This is usually pretty simple to accomplish and usually just entails lining up the processor (making sure the symbol on the corner matches the symbol on the motherboard to ensure its oriented properly), and turning the lever to lock the processor down.
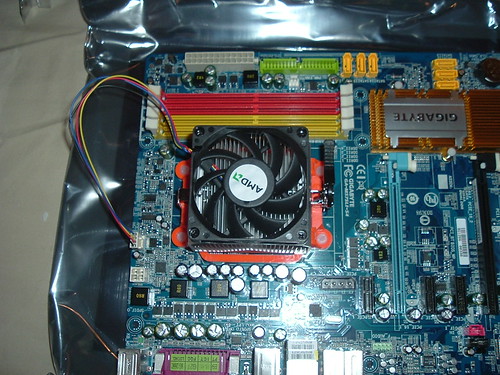
Next I added the fan onto the top of the processor. Some processor / fan combinations require using an insulating gel of some kind. This particular fan has a thermal pad on the bottom and does not require that anything be added between them. Lock the fan down by following the instructions that came with the processor and plug the fan in.
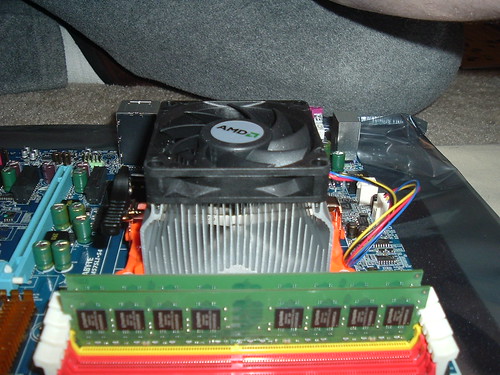
Once this is done, its time to add the RAM. This is pretty self-explanatory...
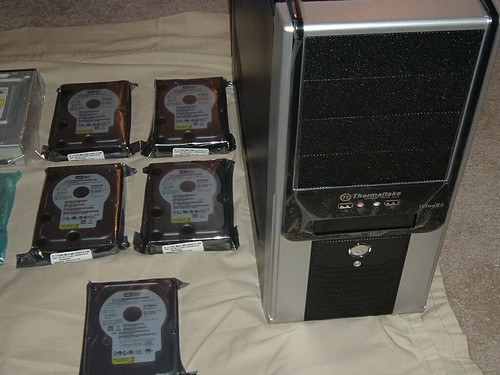
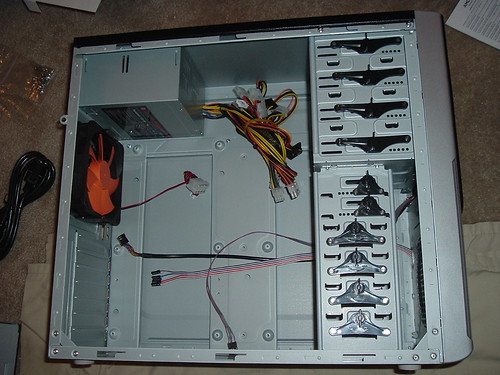
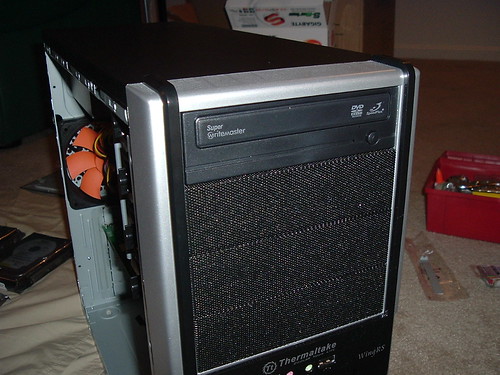
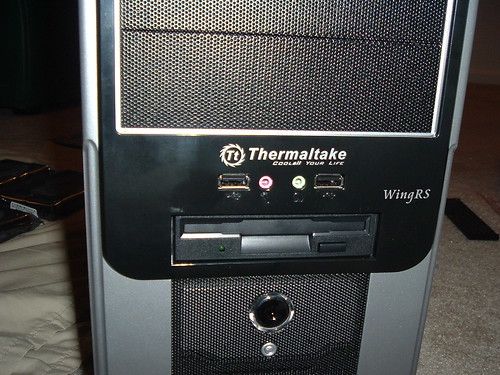
Now it's time to insert the motherboard into the case. Below is a picture of the case I'm using.
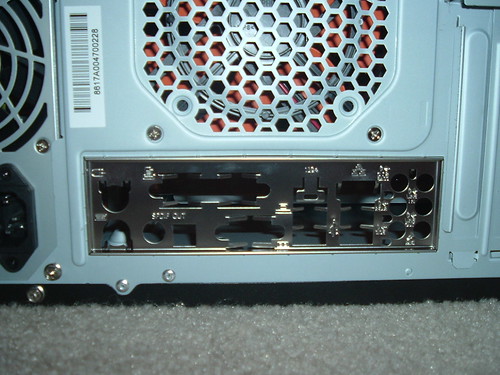
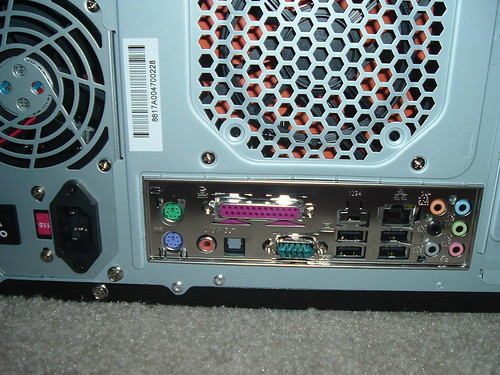
Before I inserted the motherboard, I first had to remove the I/O panel on the back of the case and insert the one that came with the motherboard.
Now that that's done, it's time to place the motherboard into the case and screw it down.
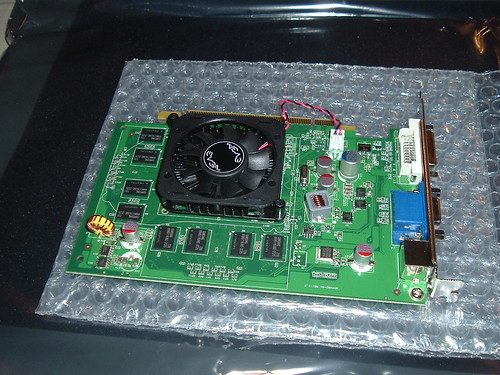
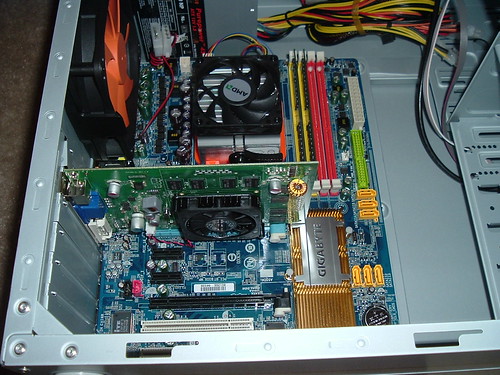
Now that the mobo's in... the real fun begins. The next thing I did was I installed the video card. They are pretty easy to install... just insert into the PCI slot (for PCI cards).
Here's a couple pics of the nvidia 8500GT before and after install.
Next I installed the CD/DVD drive and the floppy drive. I popped off the front of the case and removed the panel-covers that were covering the slots for each. Then I inserted the drives and locked them into place. (on my case this is as simple as turning the locking handles. some cases make you screw them into place)

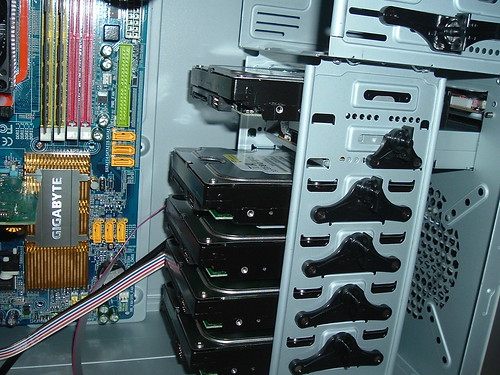
Once those are in, it's time to start inserting hard drives. As i described in the overview... I'm going to be installing one 160gb hard drive to hold the operating system and applications as well as four-500 gb hard drives that are going to be setup as a RAID array and used for file storage.
Here's a picture showing the hard drives placed in the case. (the top one I had to place in a slot not generally used for hard drives... it still worked fine though)
Now it's time to start on connections. I urge you to refer to your motherboard instructions for specific instructions on how to setup all the connections.
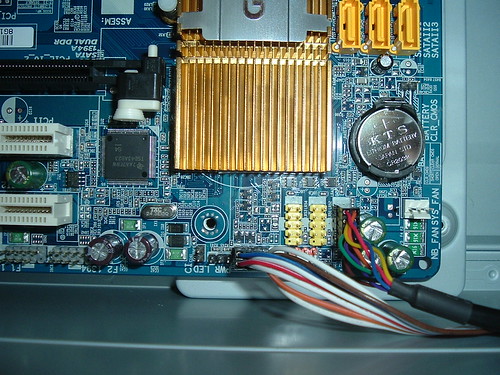
I first connected the cables leading to the front power-button, USB connections, and indicator LEDs. These generally go in / near the F_panel.
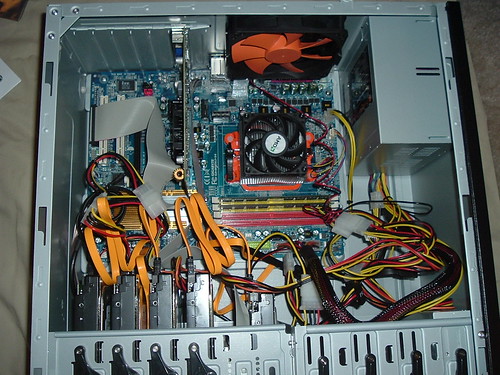
Then it was time to start connecting all the SATA (and my one non-SATA device, the floppy drive). The picture probably doesn't do this justice but it should be relatively self explanatory. Find your SATA ports on your motherboard and connect them to your various SATA devices (in my case the 5 hard drives and the CD/DVD drive) via SATA cables. As a side note... my motherboard only came with 4 SATA cables for the 6 SATA slots it has, so I had to pick up two additional cables.
I also connected power cables to all the various devices, including the hard drives, floppy and CD/DVD drives, motherboard and fan.
Once all your connections are established, you're ready to fire it up and test it out. I recommend leaving the case off for a bit because you'll need to go back in and unplug things later in this tutorial. Also if you messed up any of the connections, you can get back in faster to fix them.
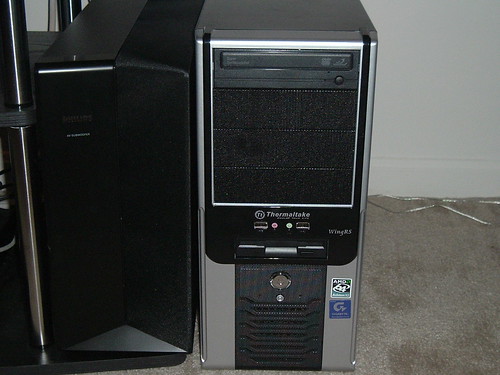
Here's a picture of the finished case sitting next to my sub woofer. (complete with stickers - though I'm still waiting on my ubuntu stickers)
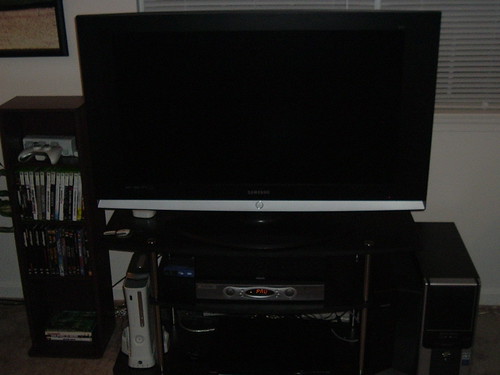
Here's a picture of my entertainment center with its latest addition (bottom right). Sorry it's kinda dark.
Continued: Operating System & Hard Drive Configuration

No comments:
Post a Comment